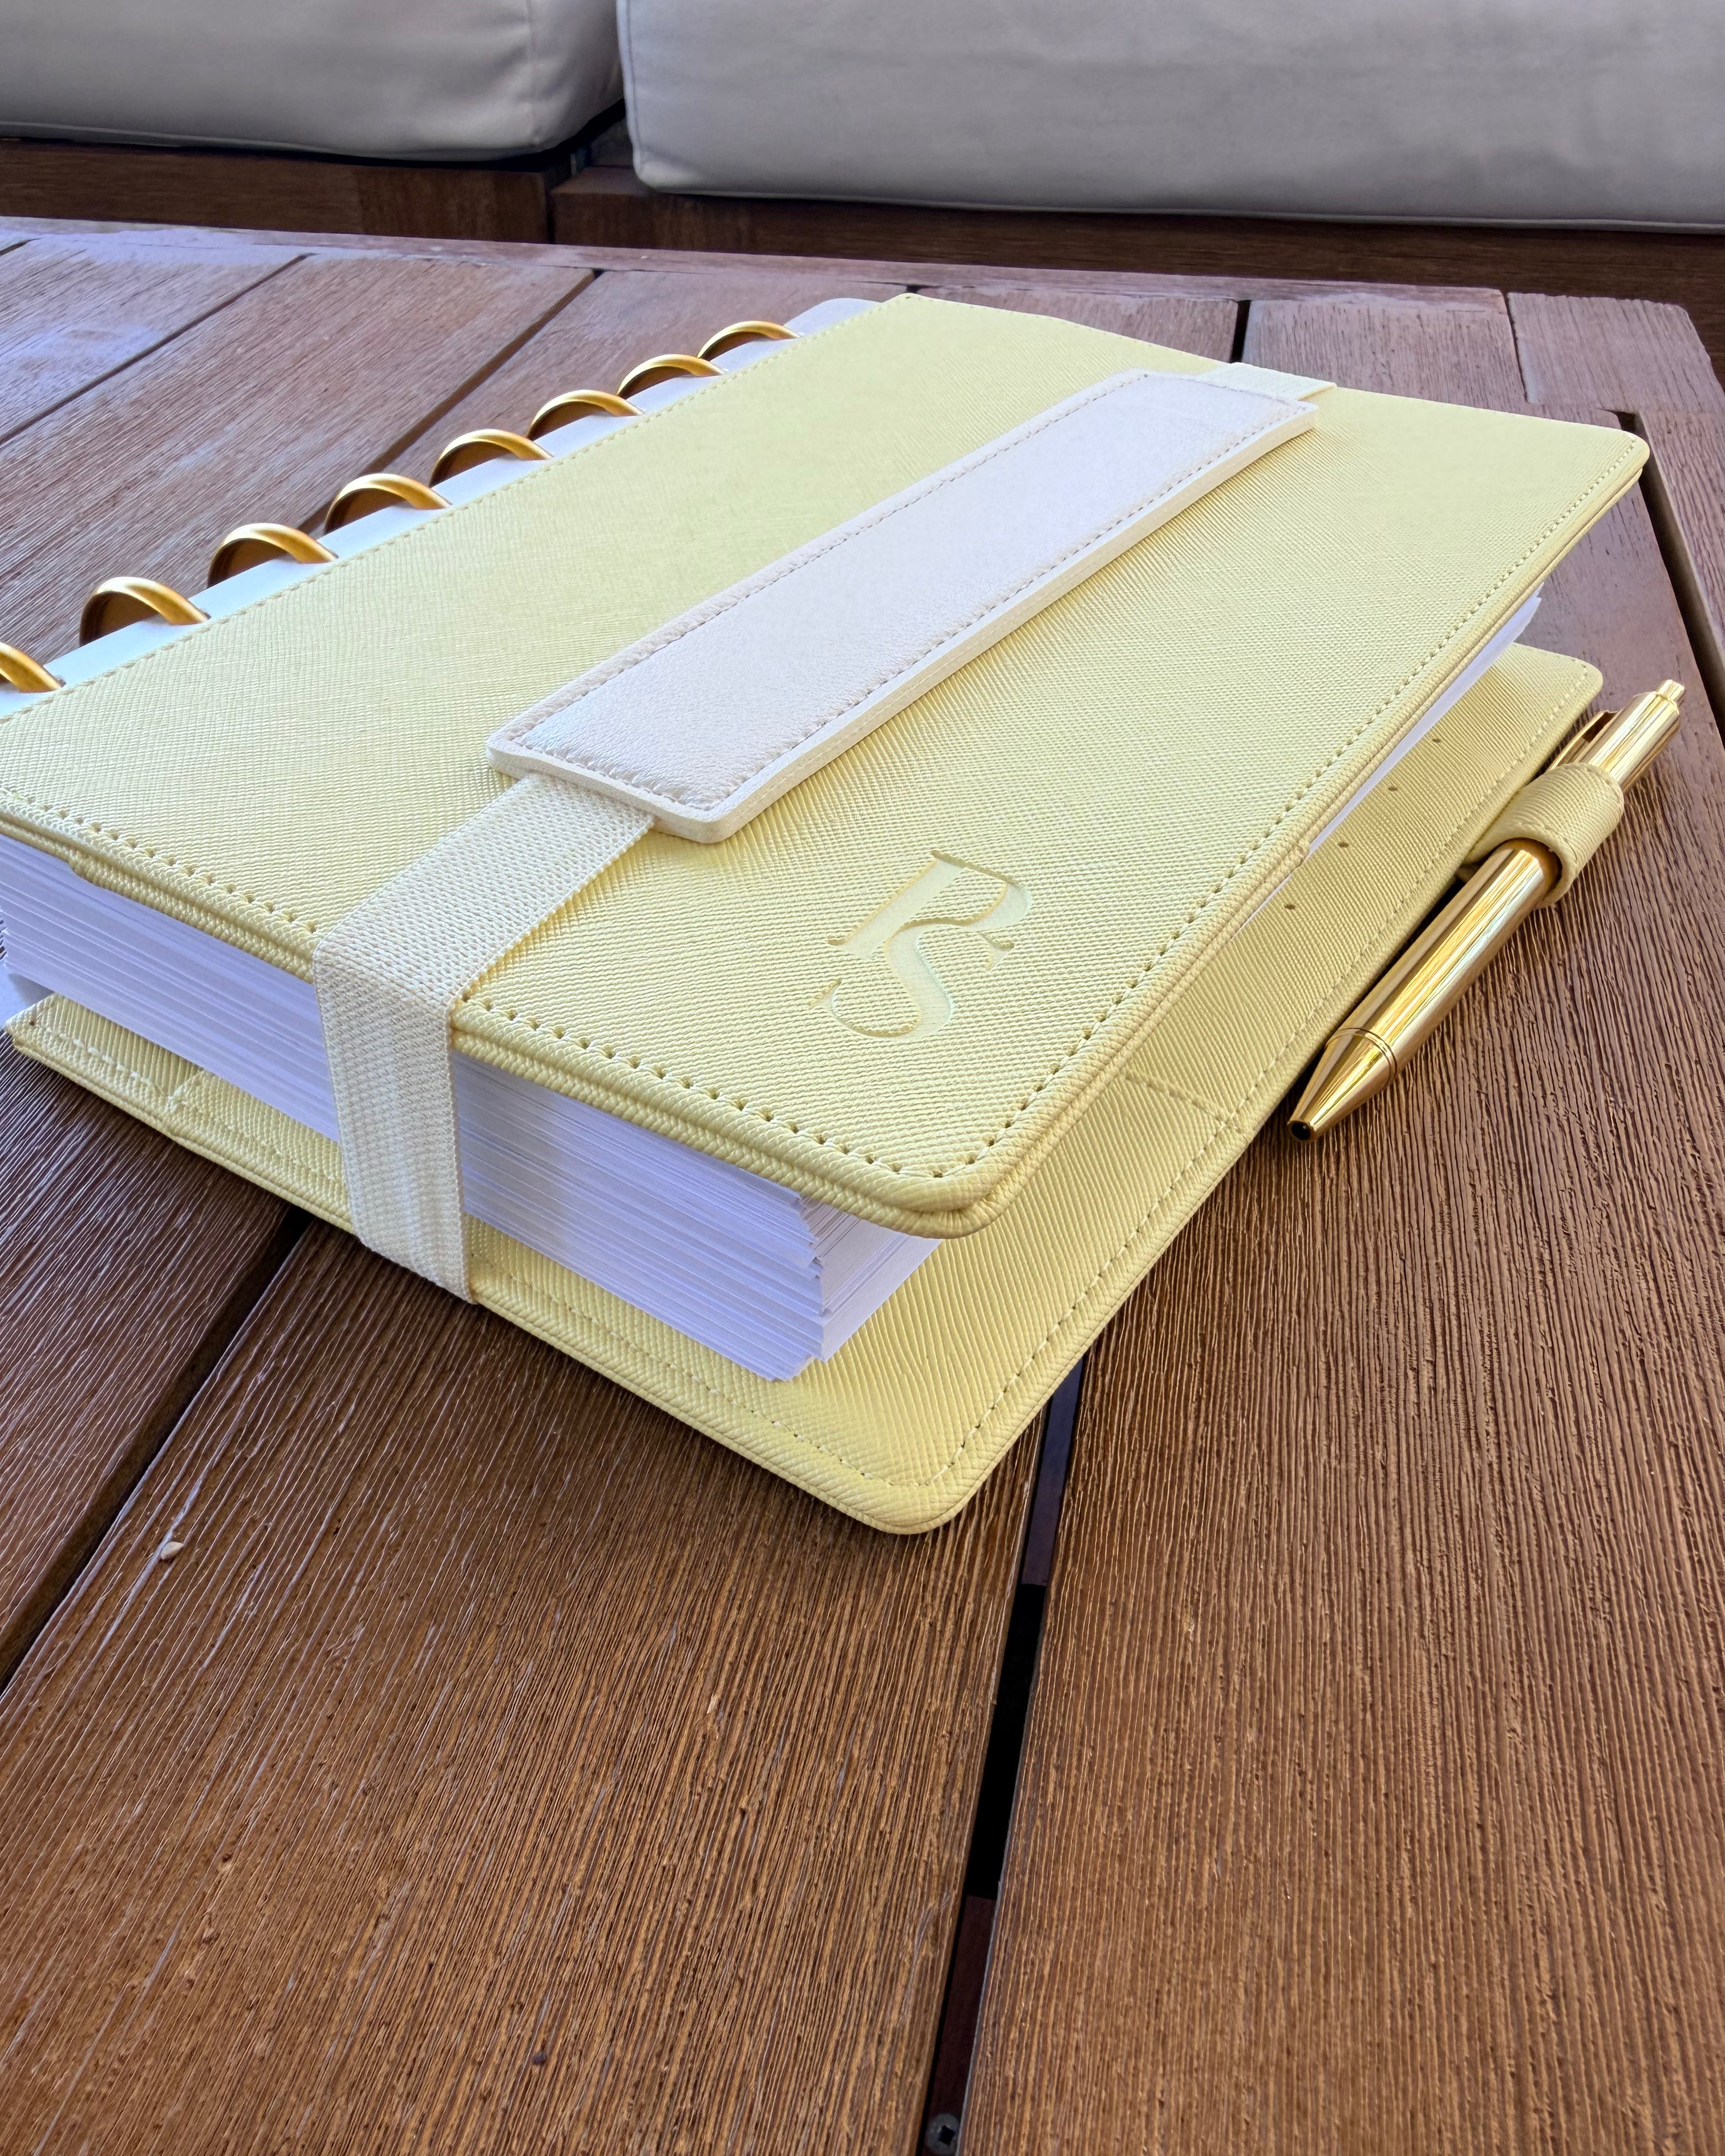
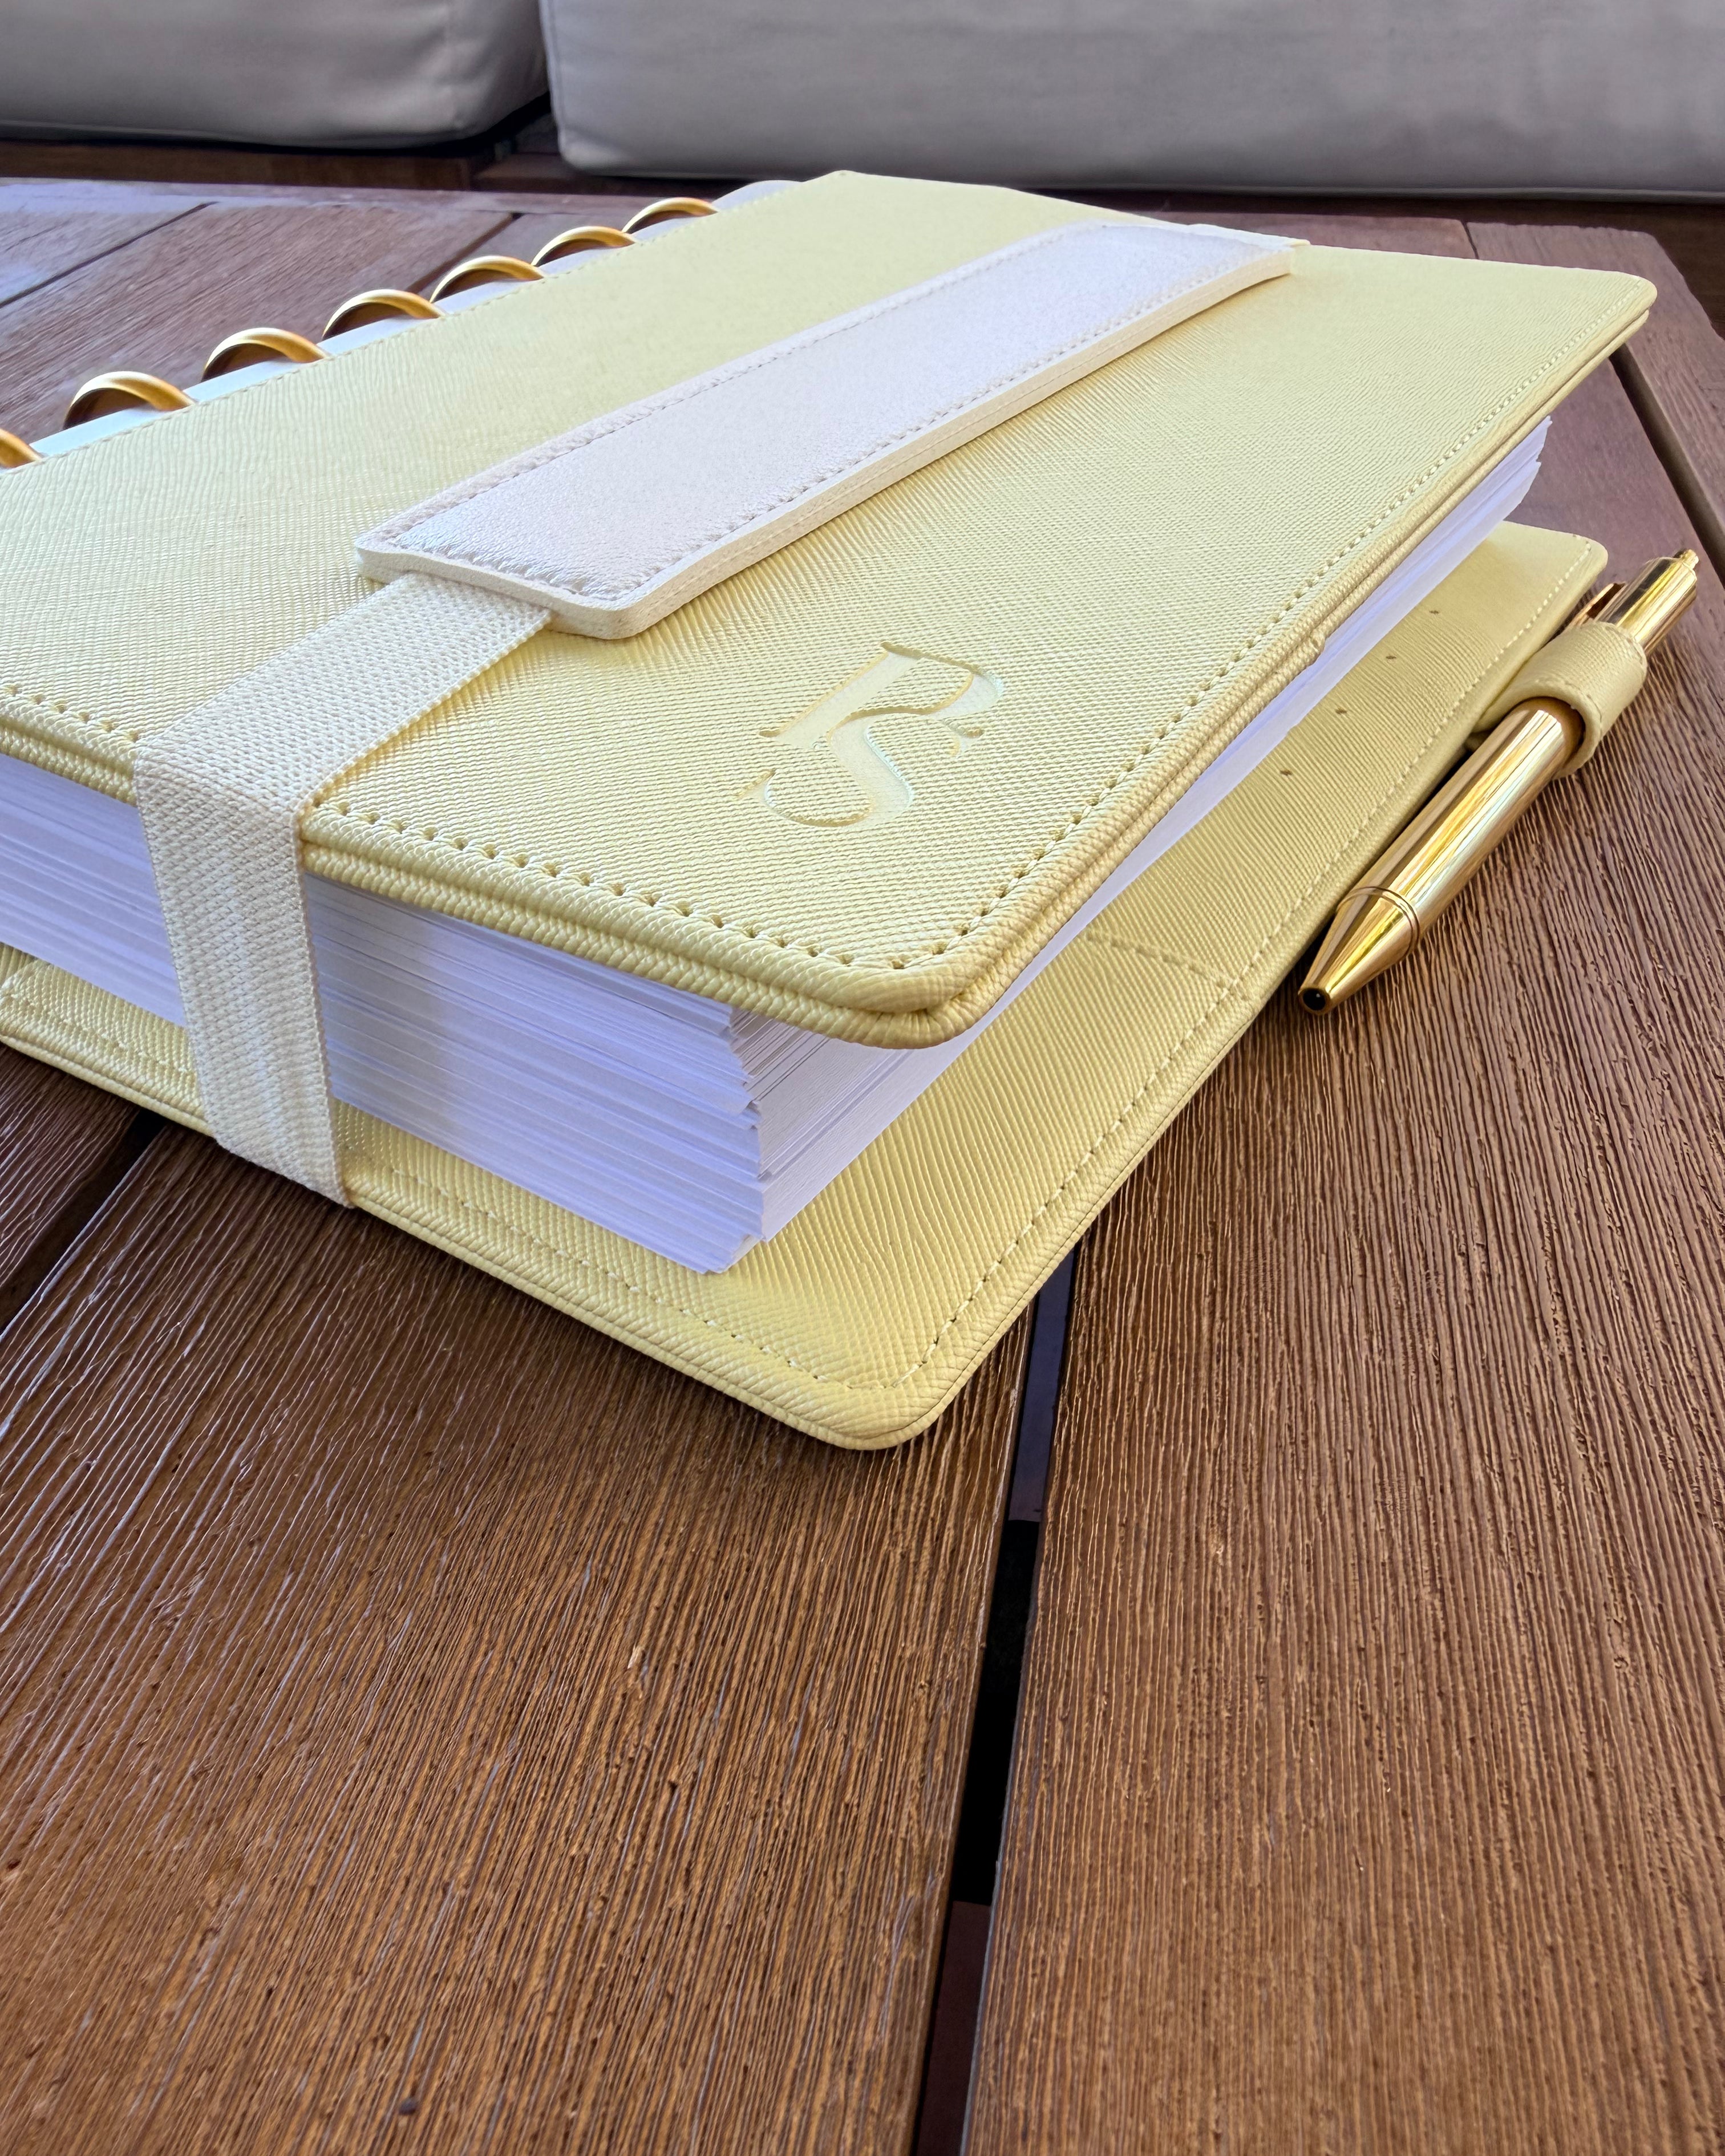
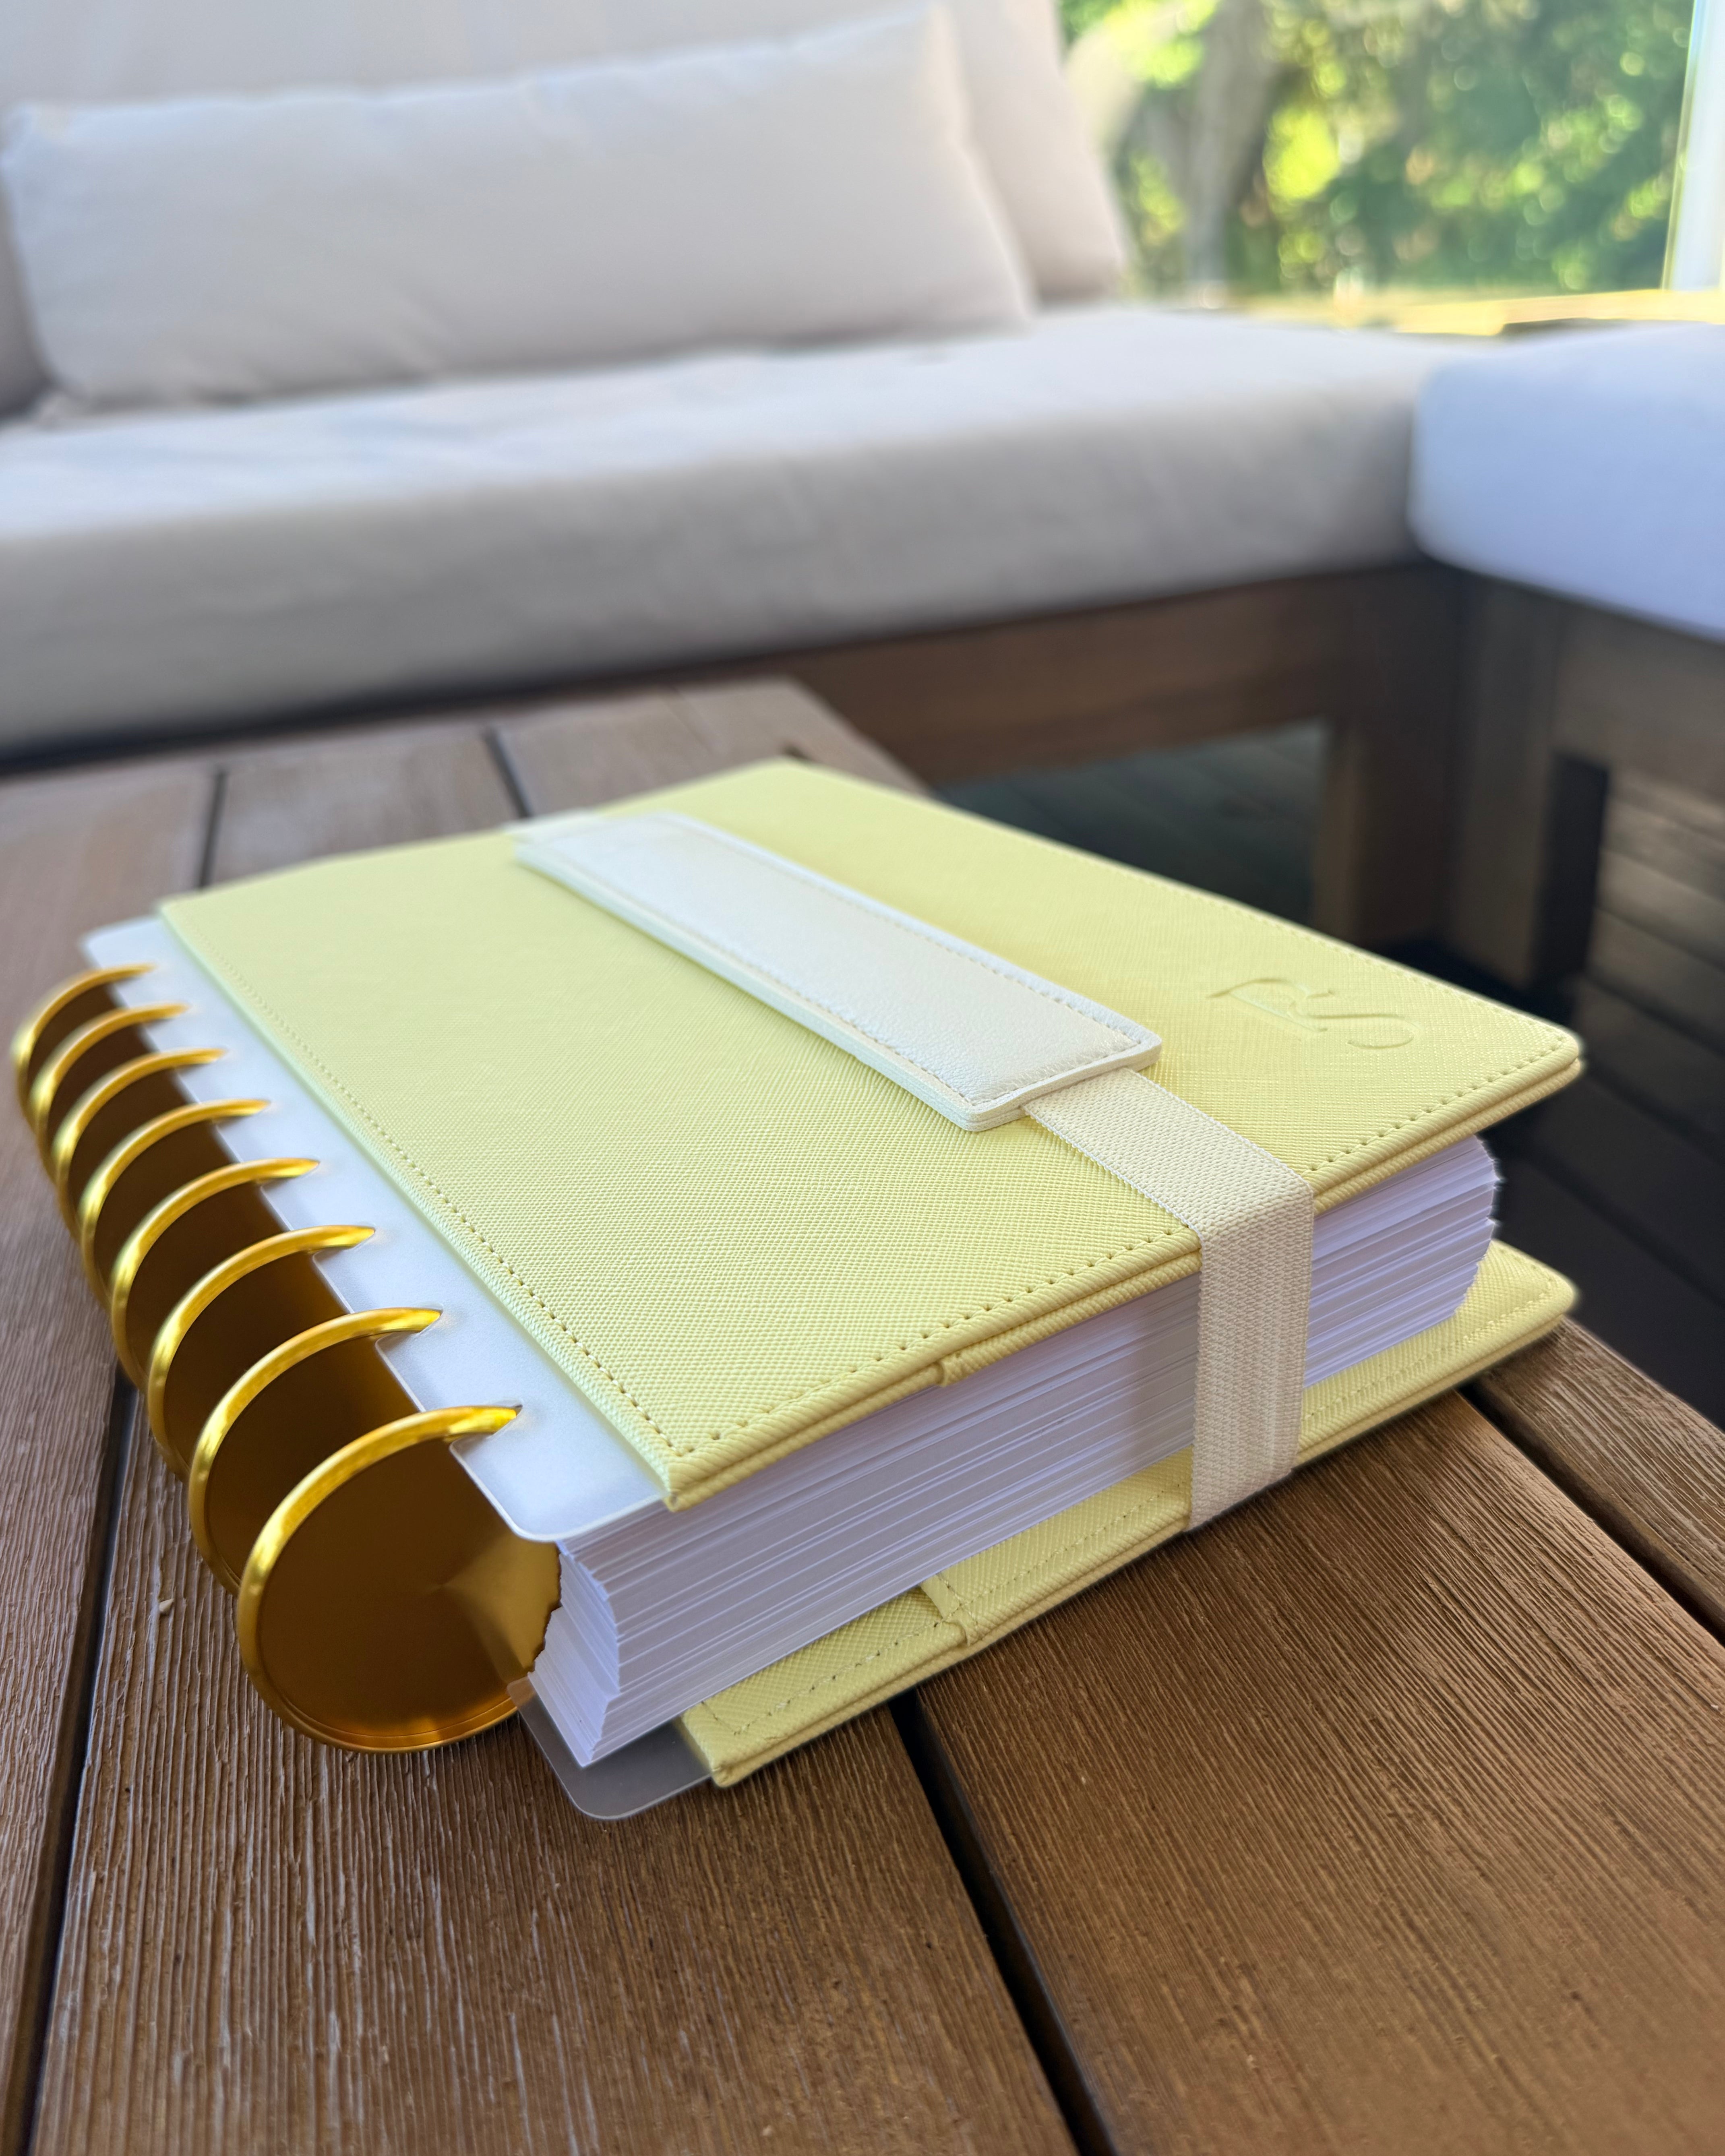
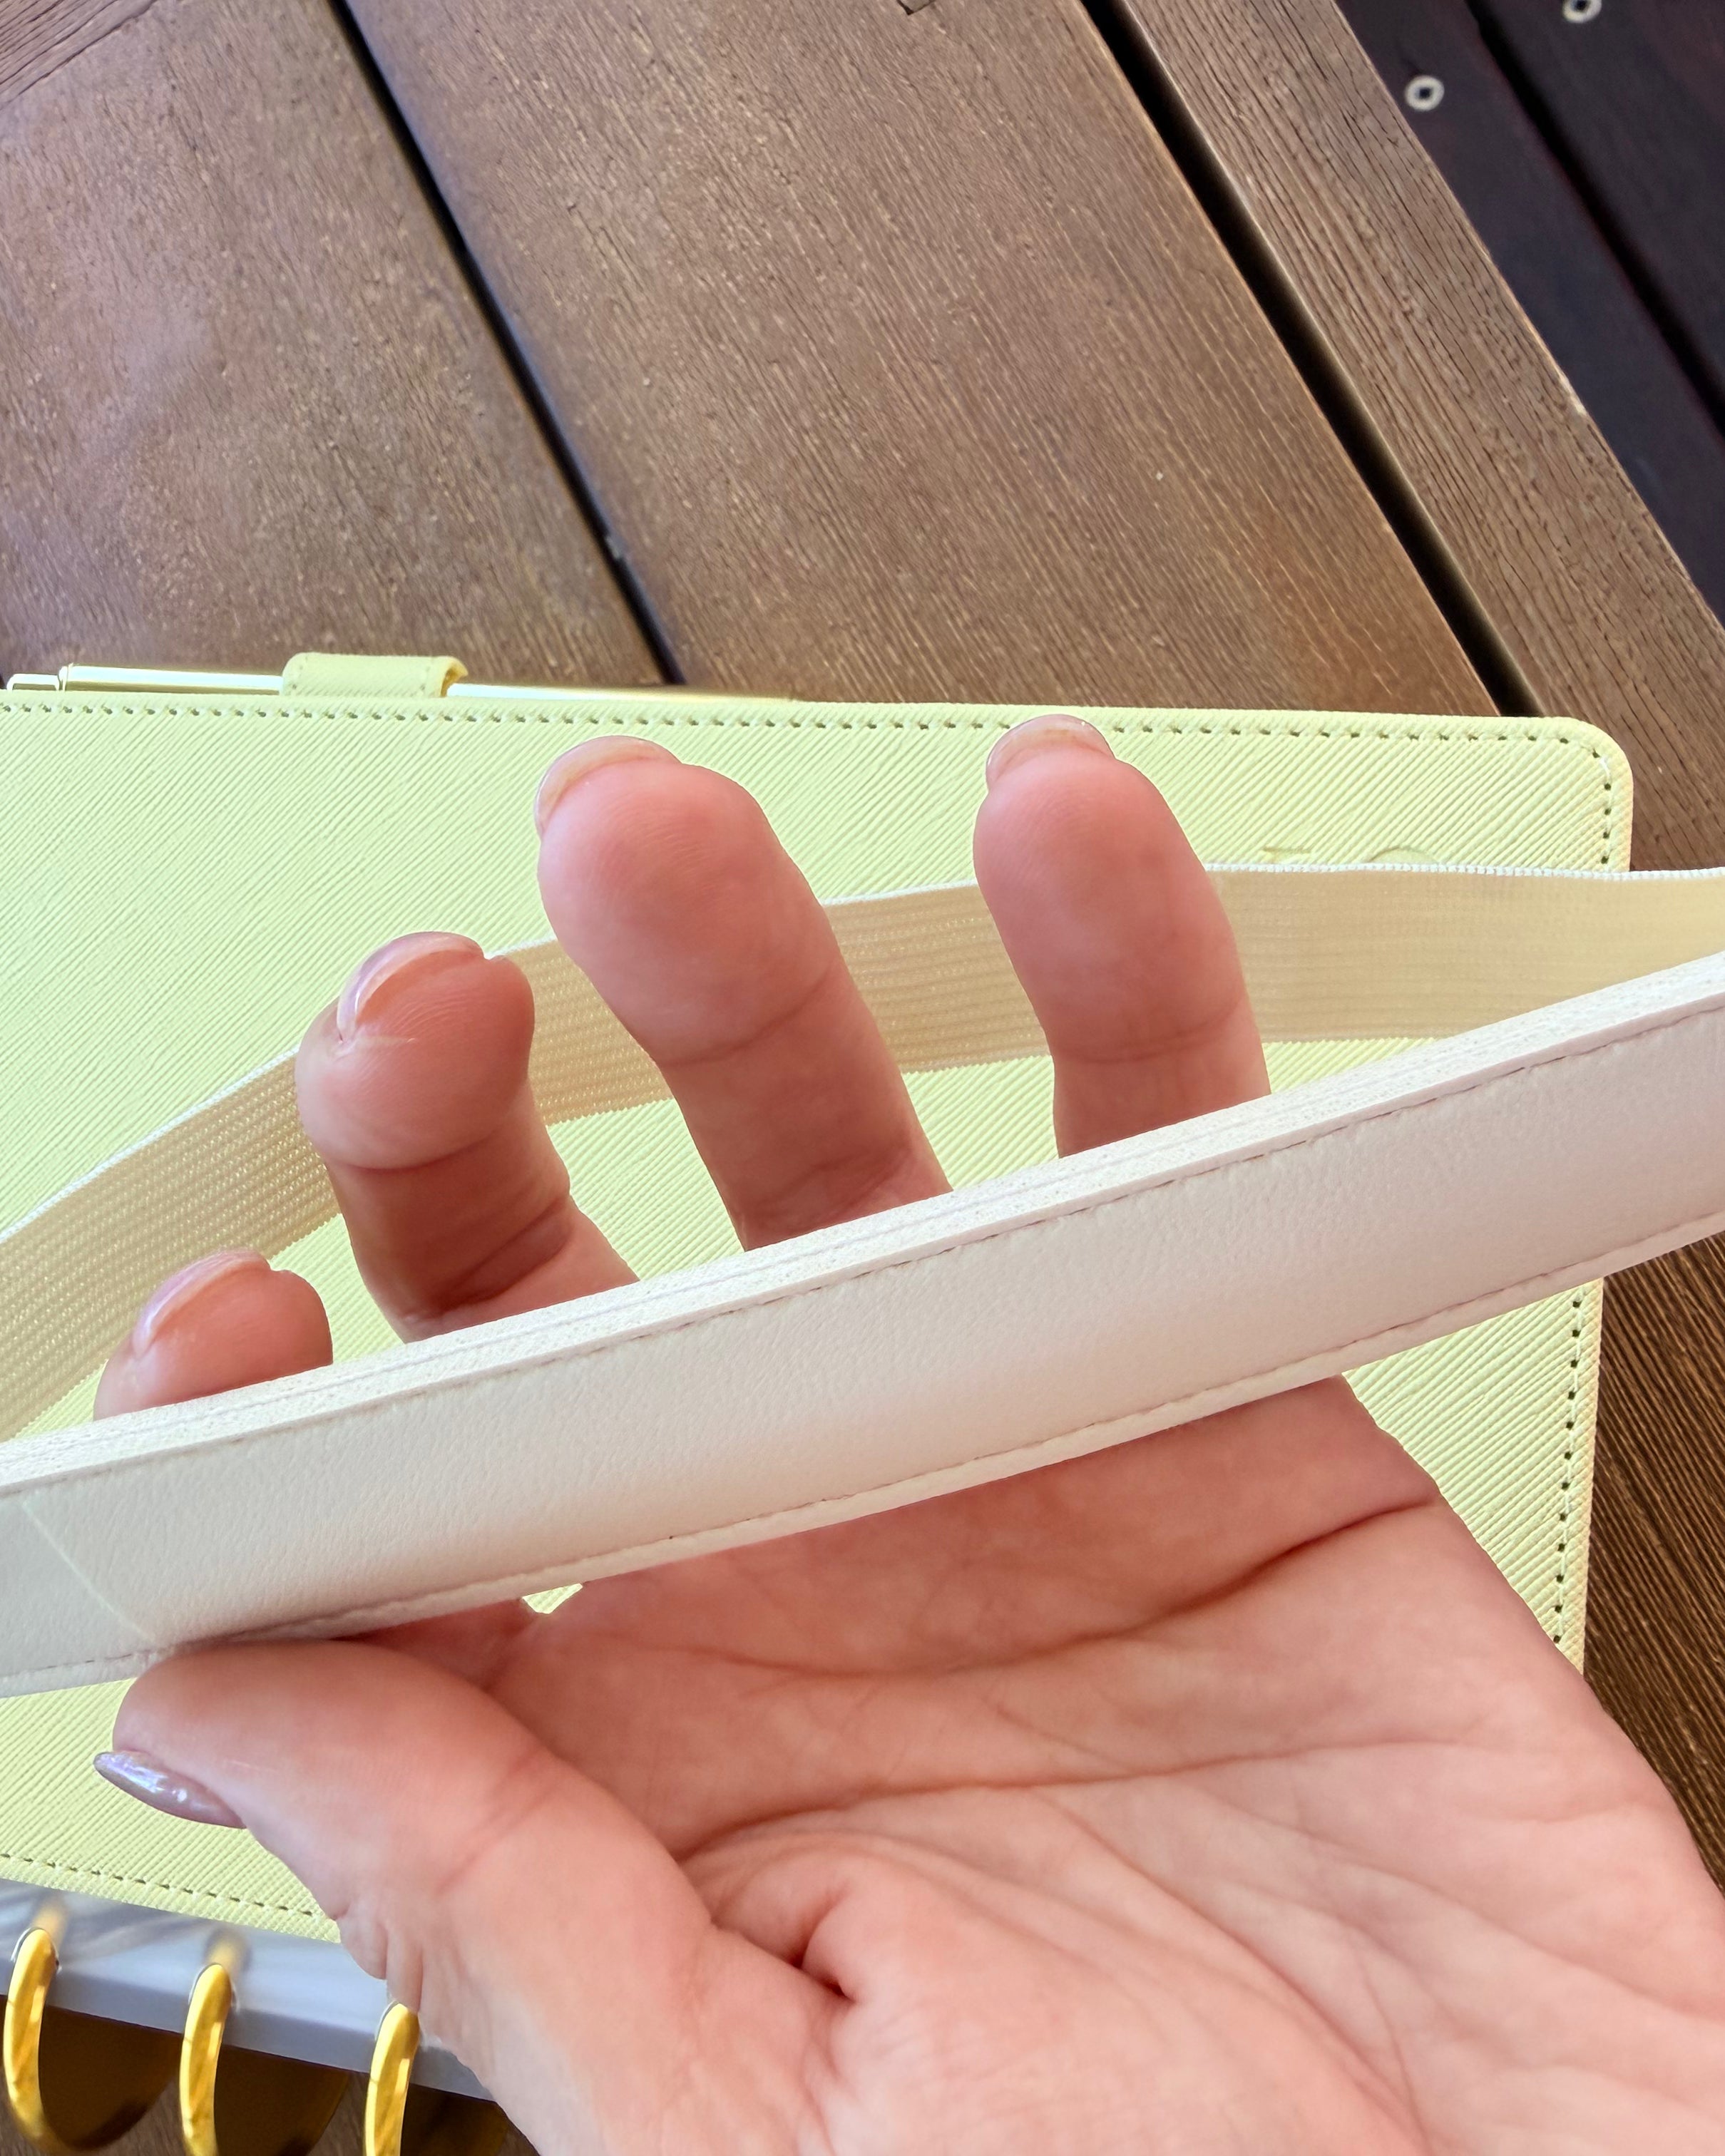
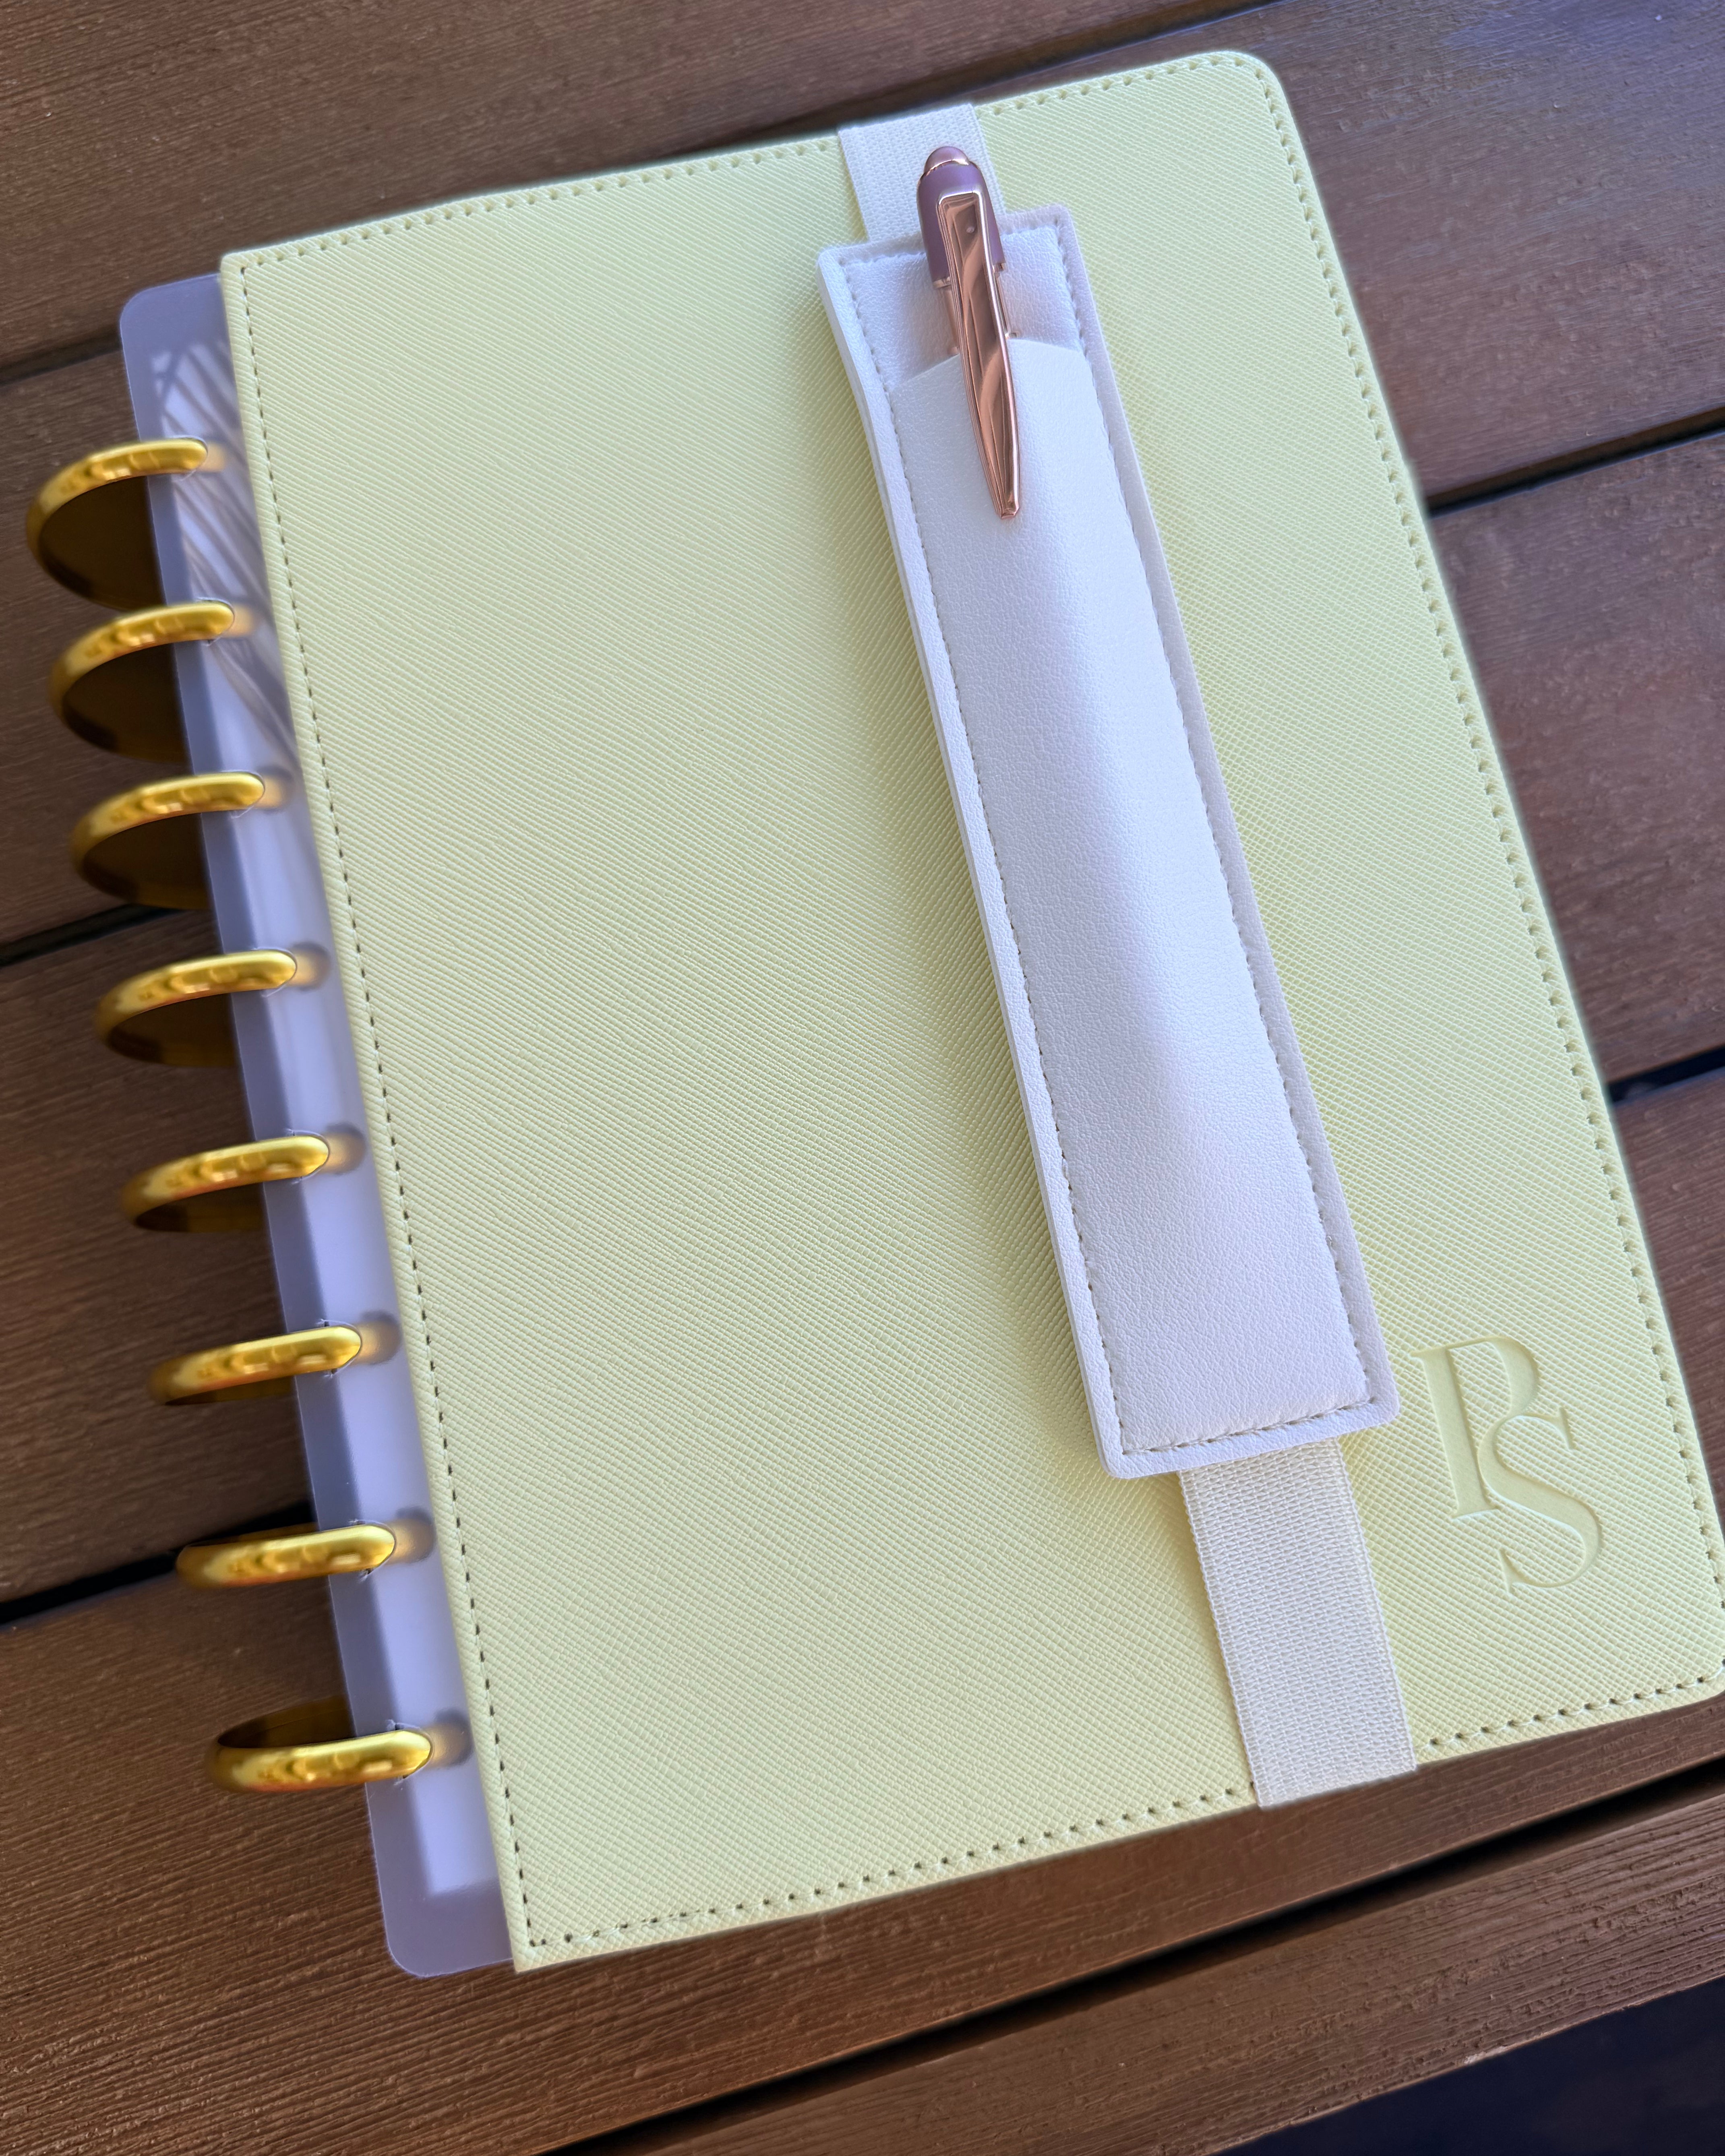
Set up your new planner
Ready to set up your new Paper State planner? It's super easy!
Watch the video and then scroll down for more instructions.

1. Attach discs to snap-on cover
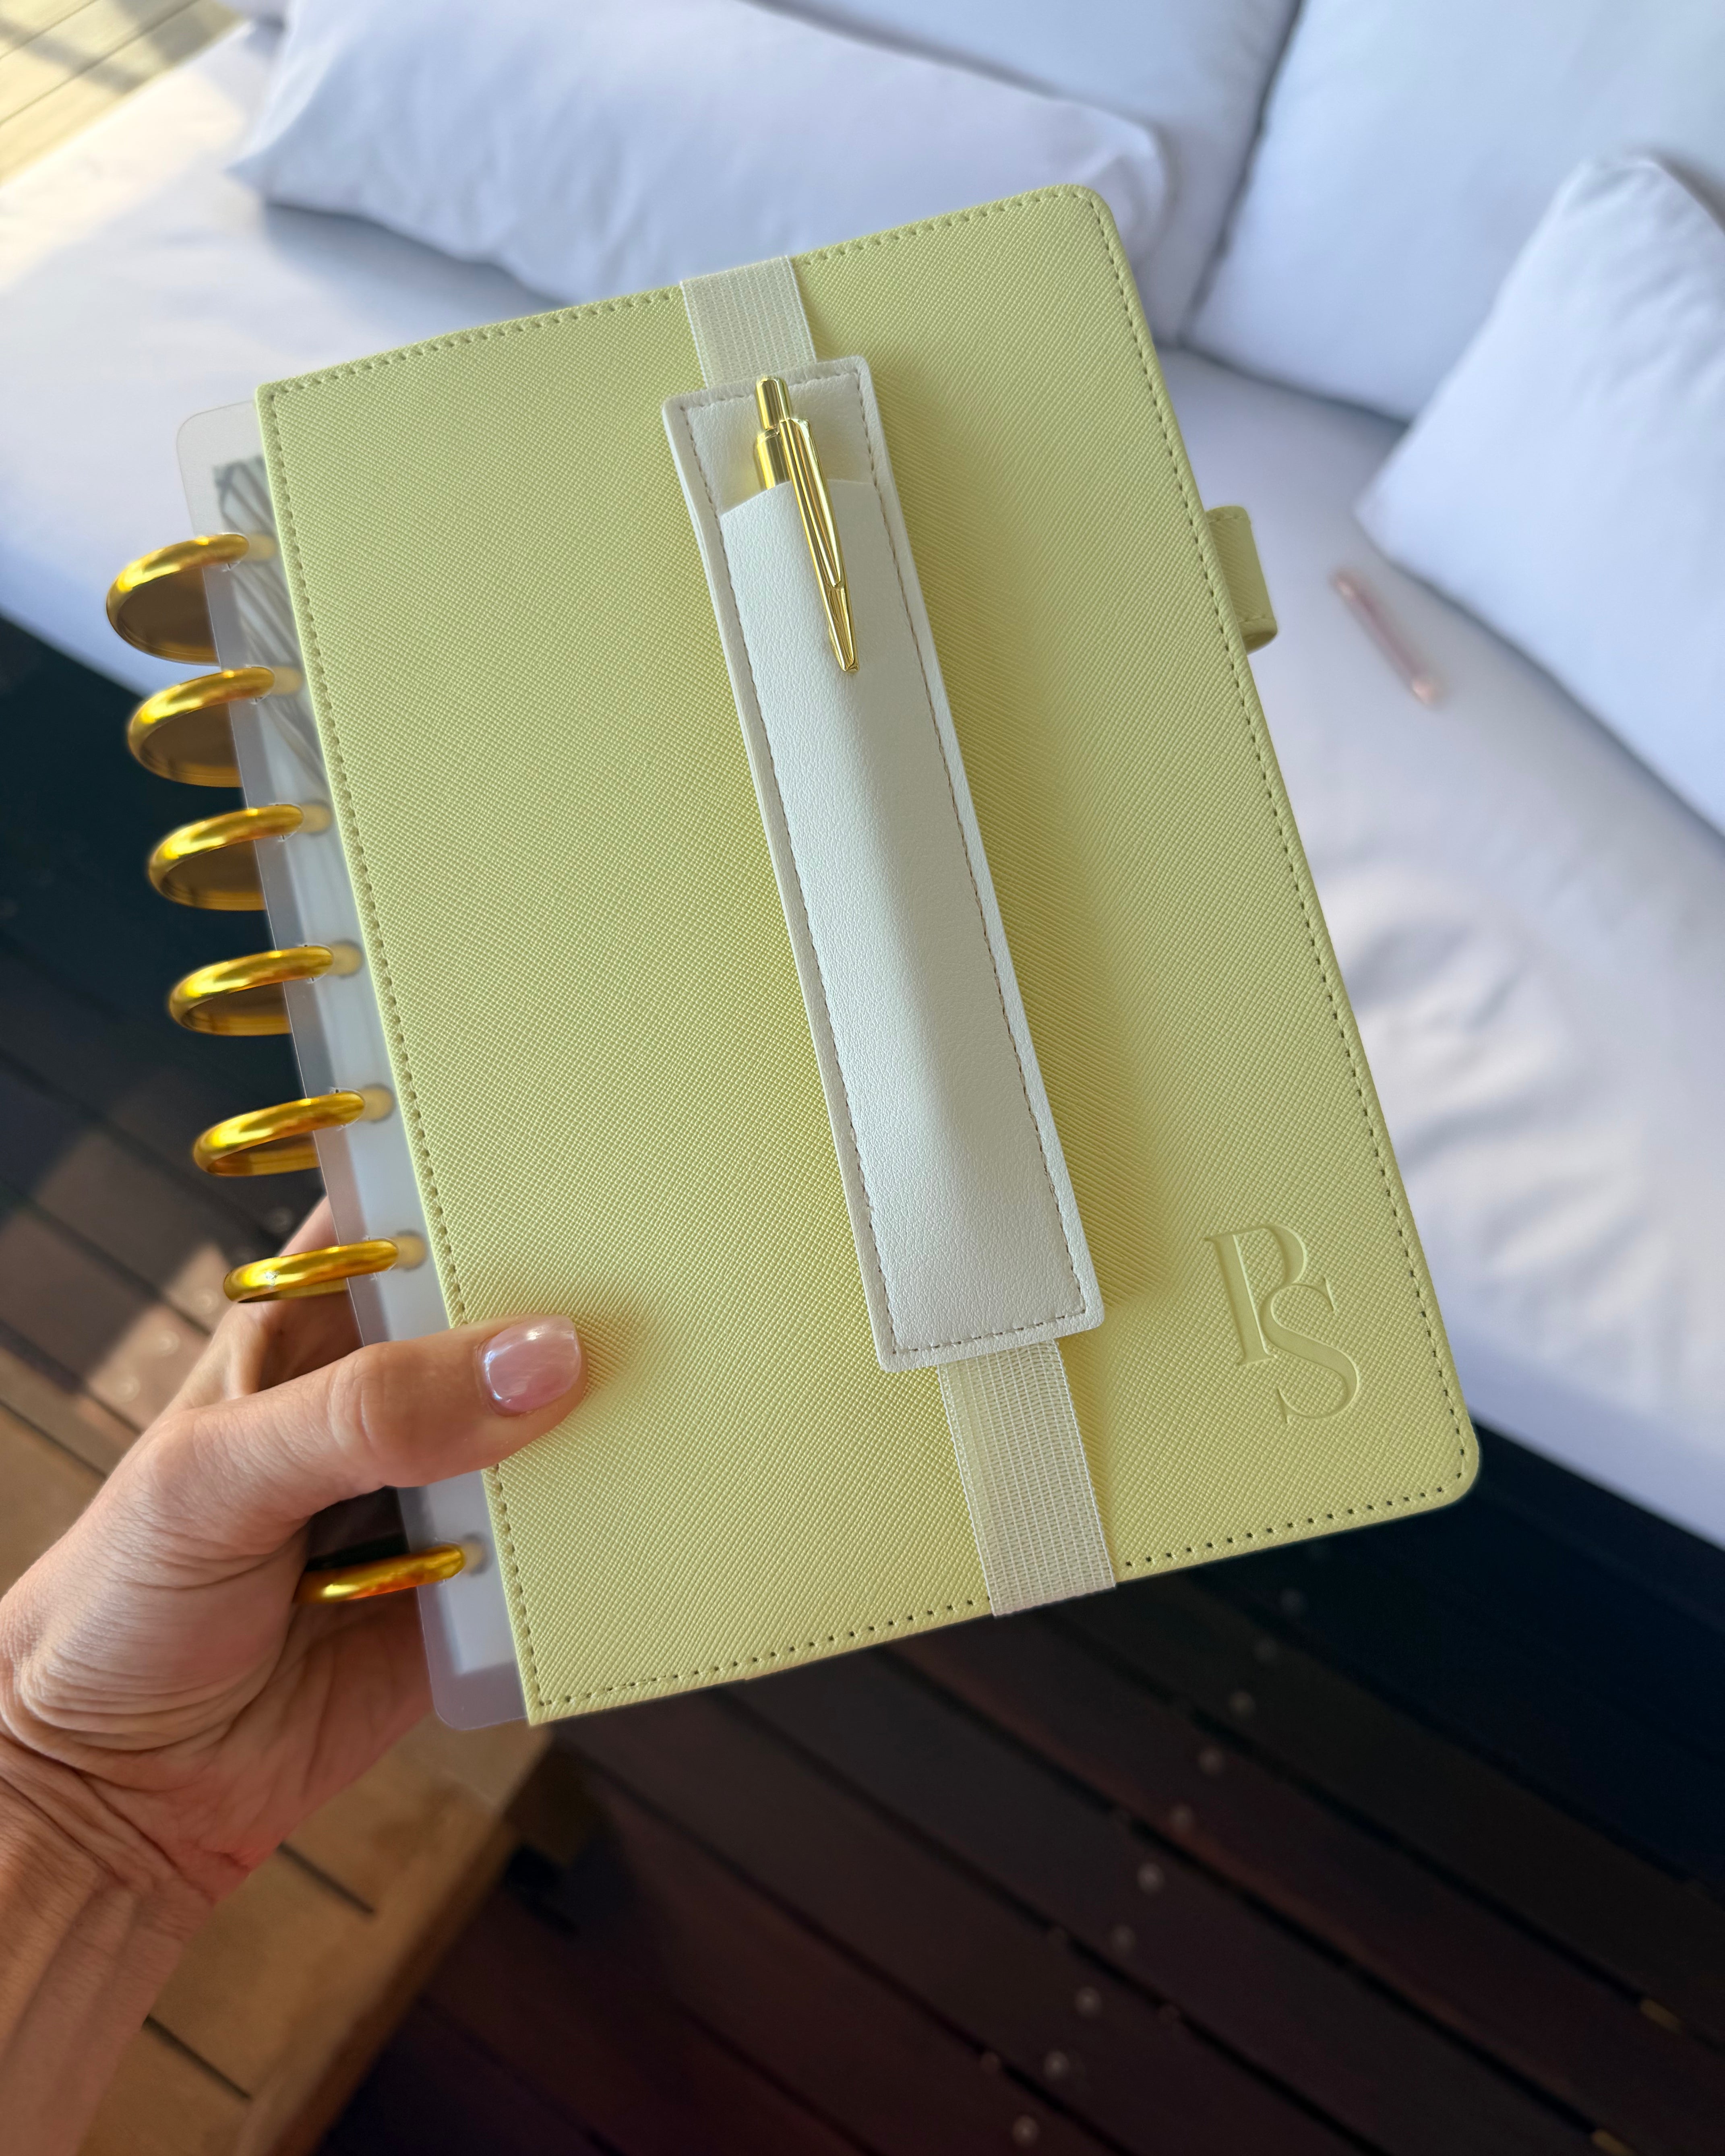
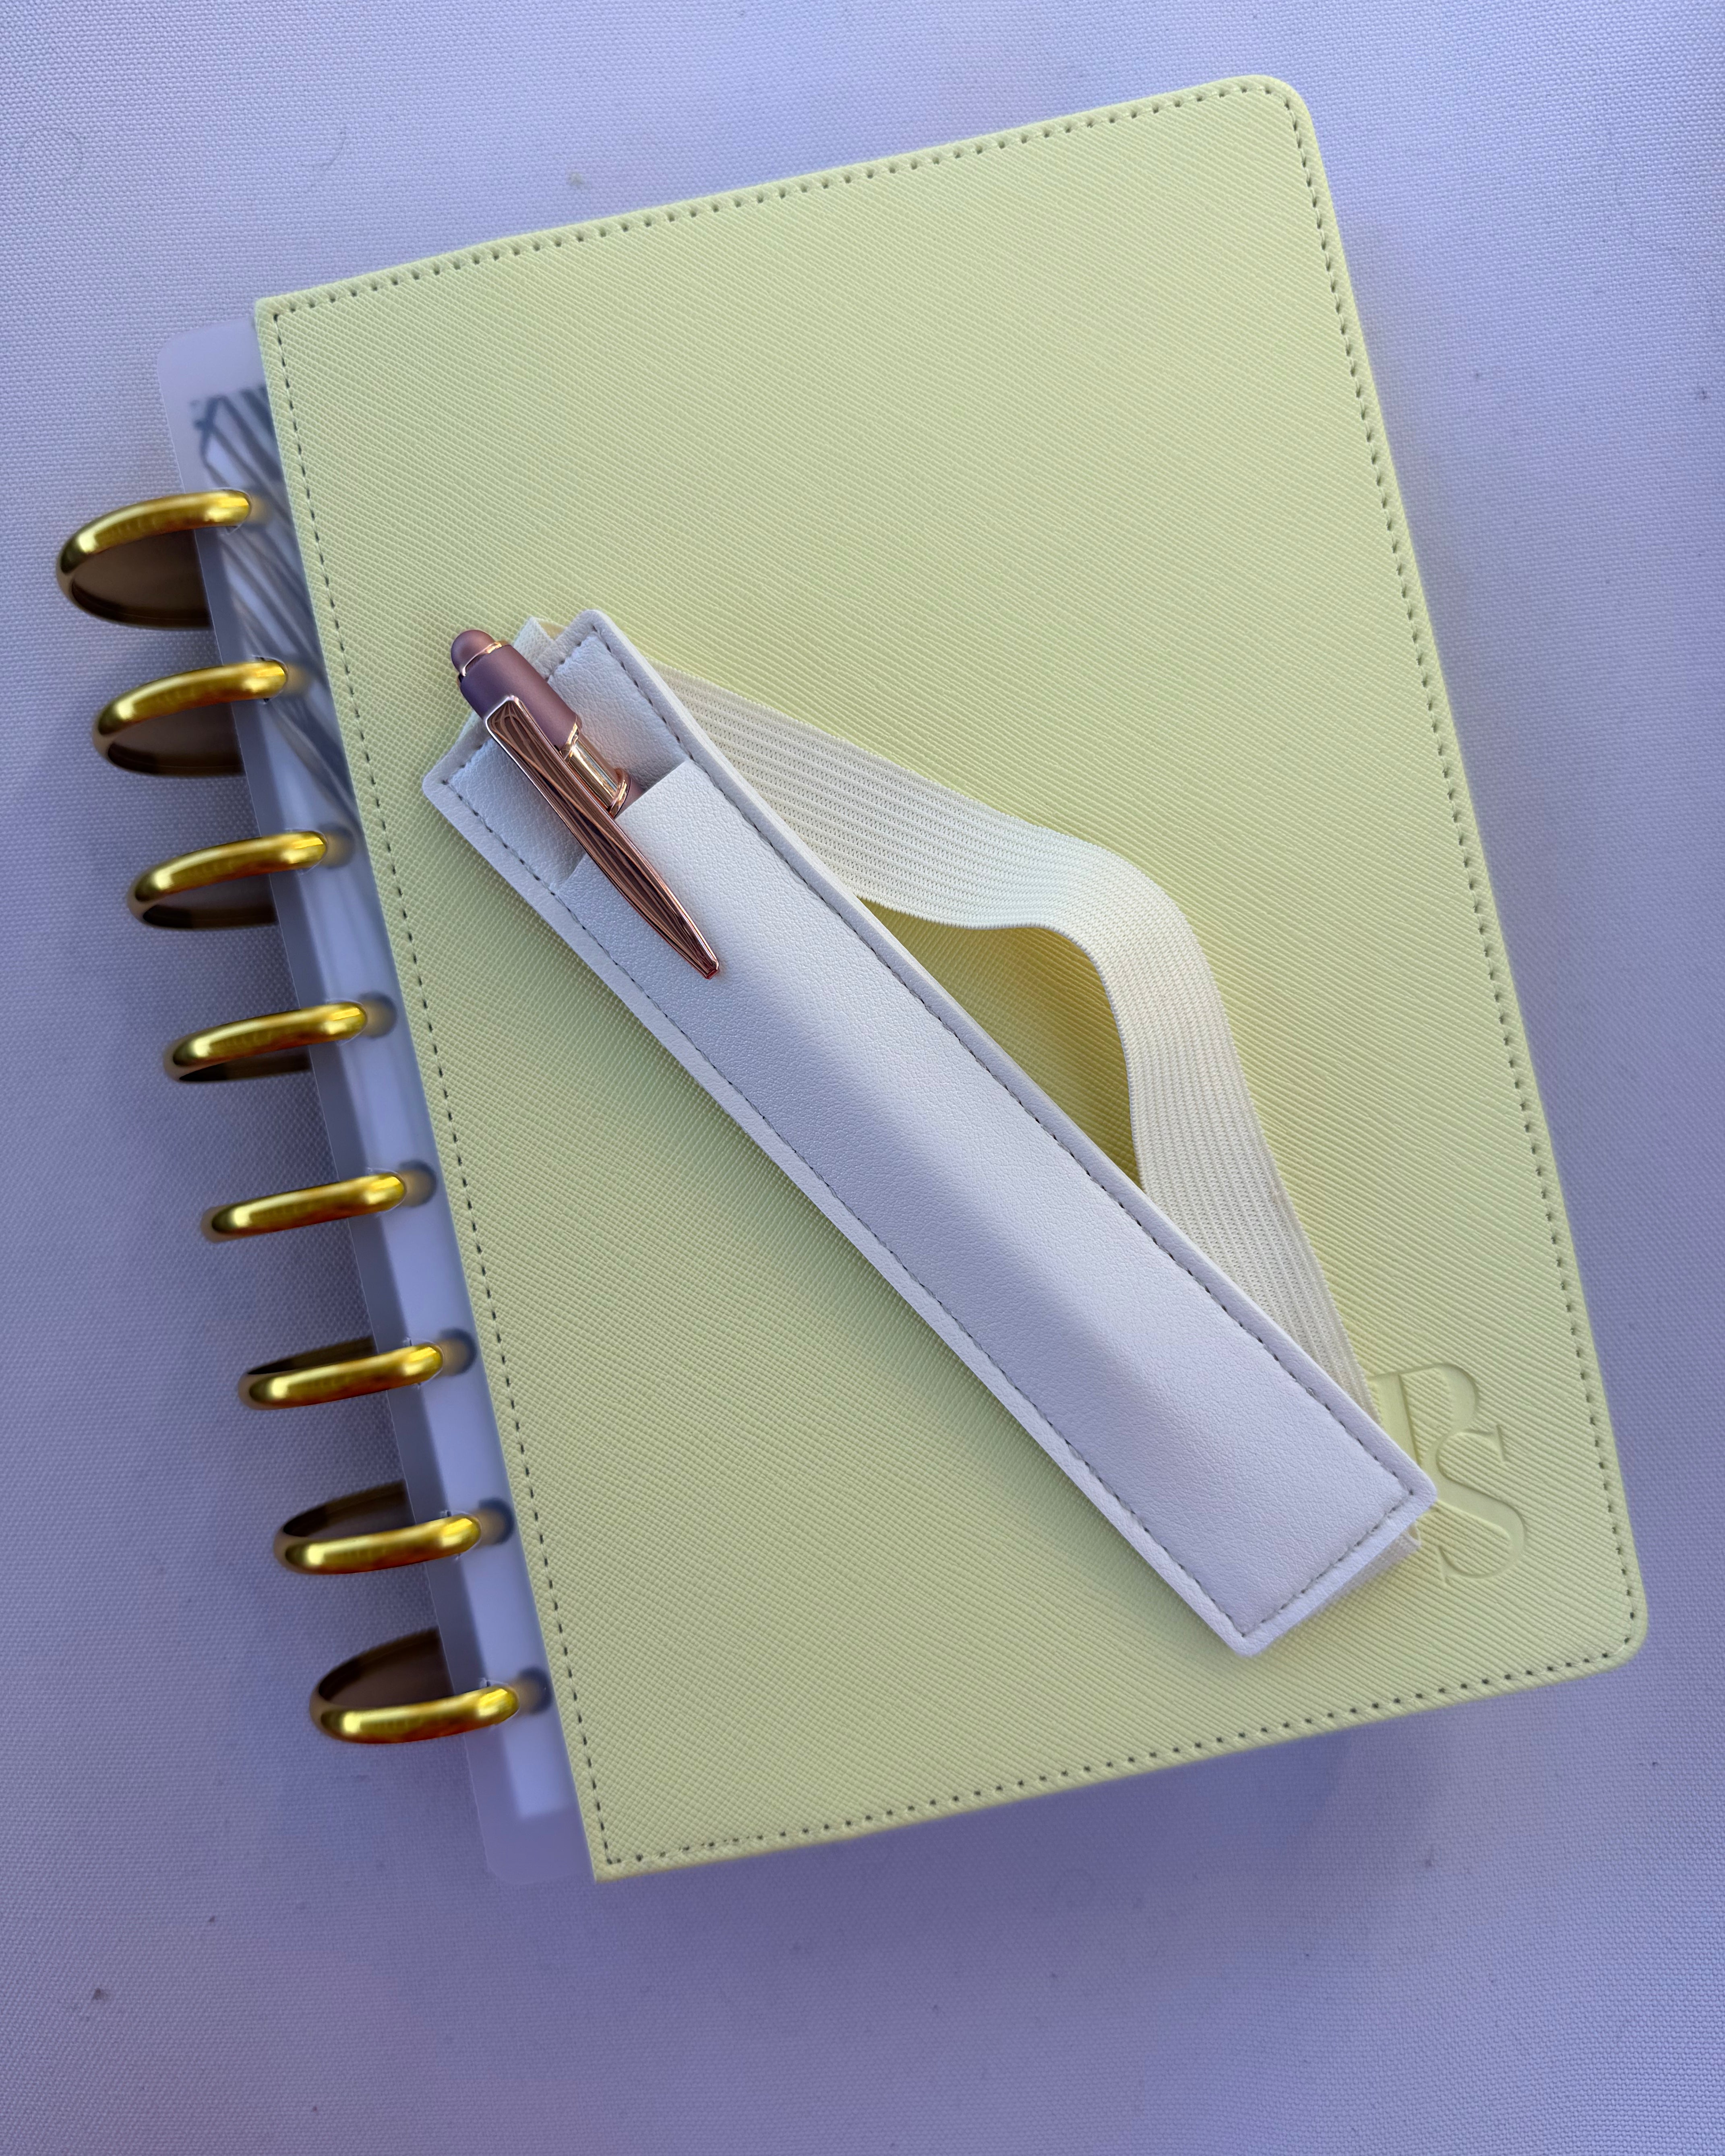
Attaching the discs is easy, simply press the disc into the hole and repeat until all 8 discs are attached to one planner cover, then repeat on the second. If you are using our vegan leather covers, you should even be able to hold the covers together and press the discs onto the front and back cover at the same time (one disc at a time).

2. Add your tab dividers
If you have tab dividers, we recommend spending some time thinking about how you want to organise your planner, and then putting your tab dividers in before you put your inserts in. That way you can pop your inserts into the right section from the beginning.

3. Label tab dividers
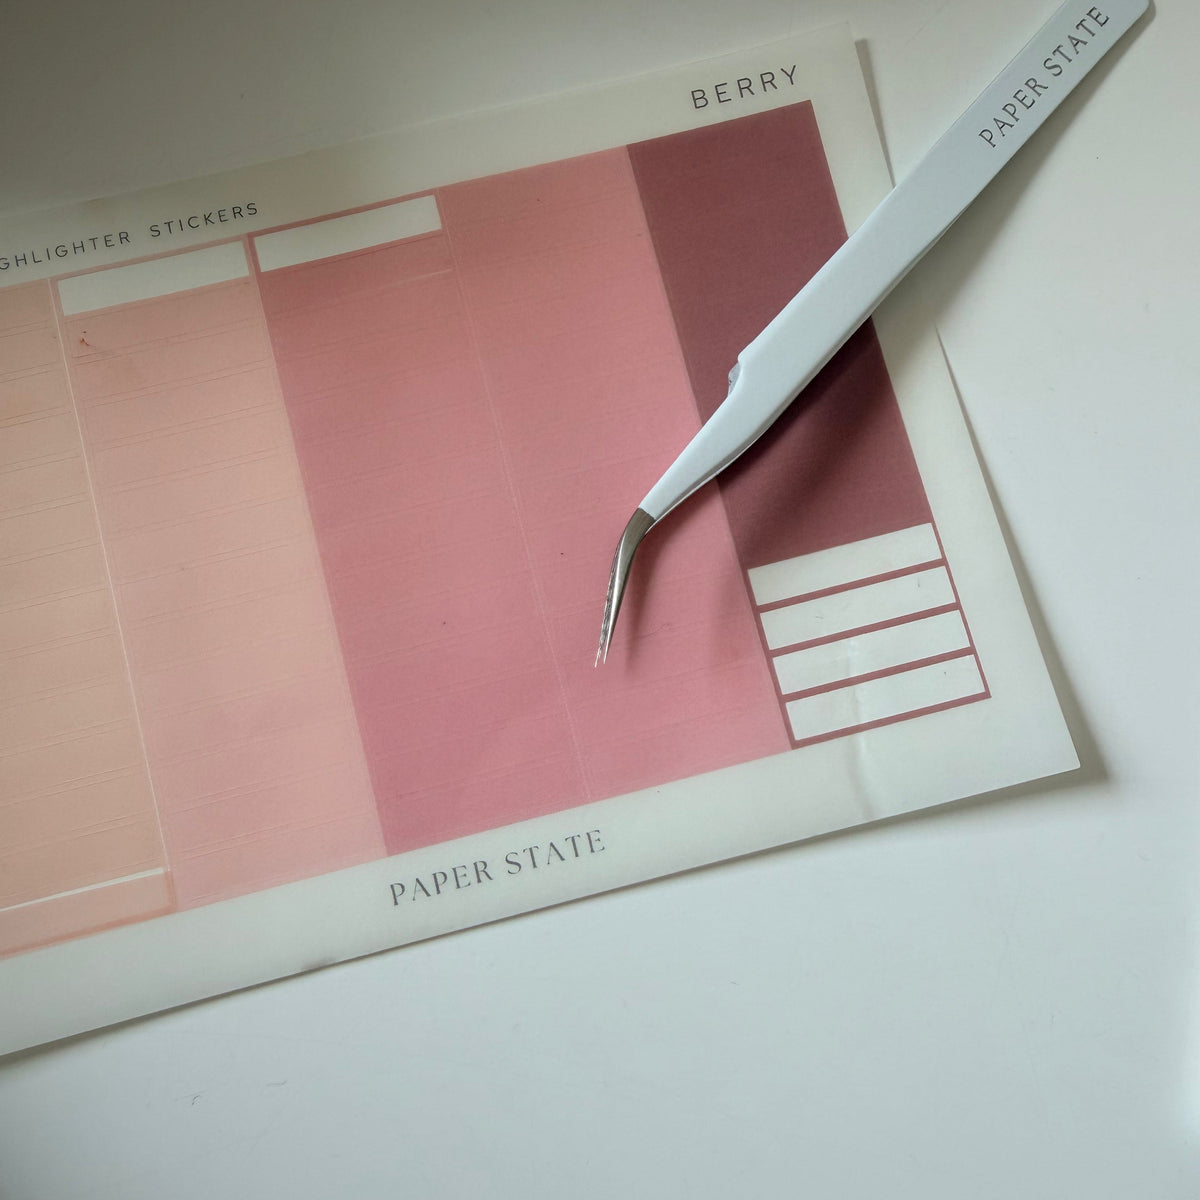
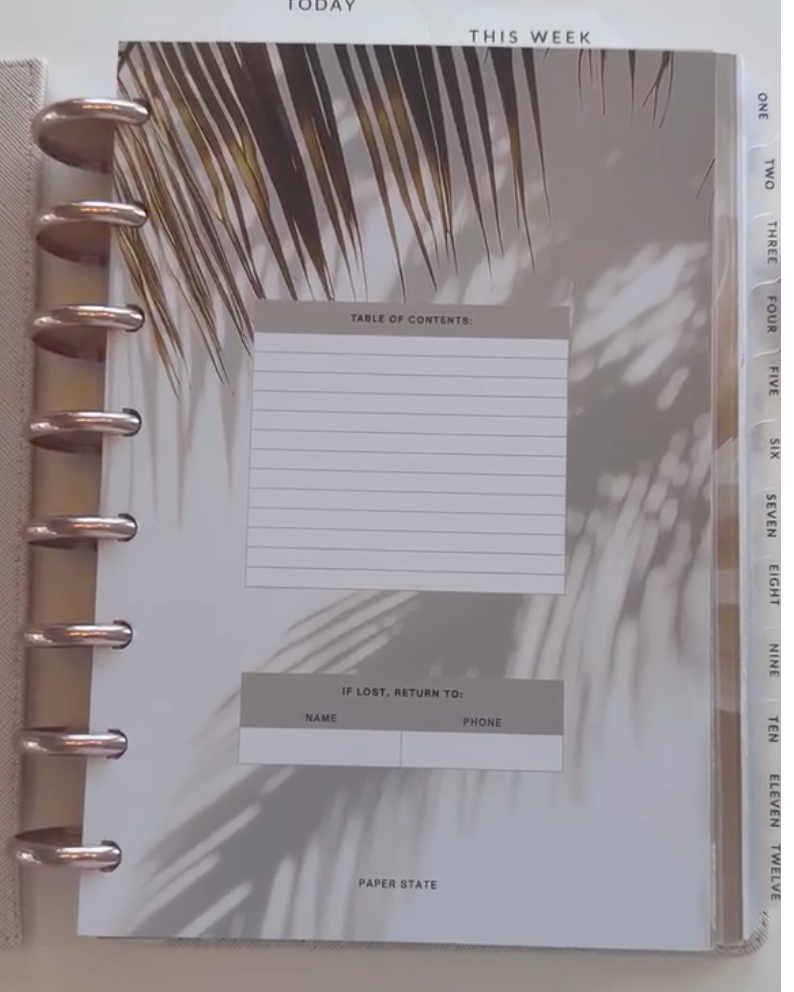
If you have tab dividers, time to label them! You can either use our text sticker labels or write on our blank sticker labels and then stick them onto each tab.

4. Add inserts
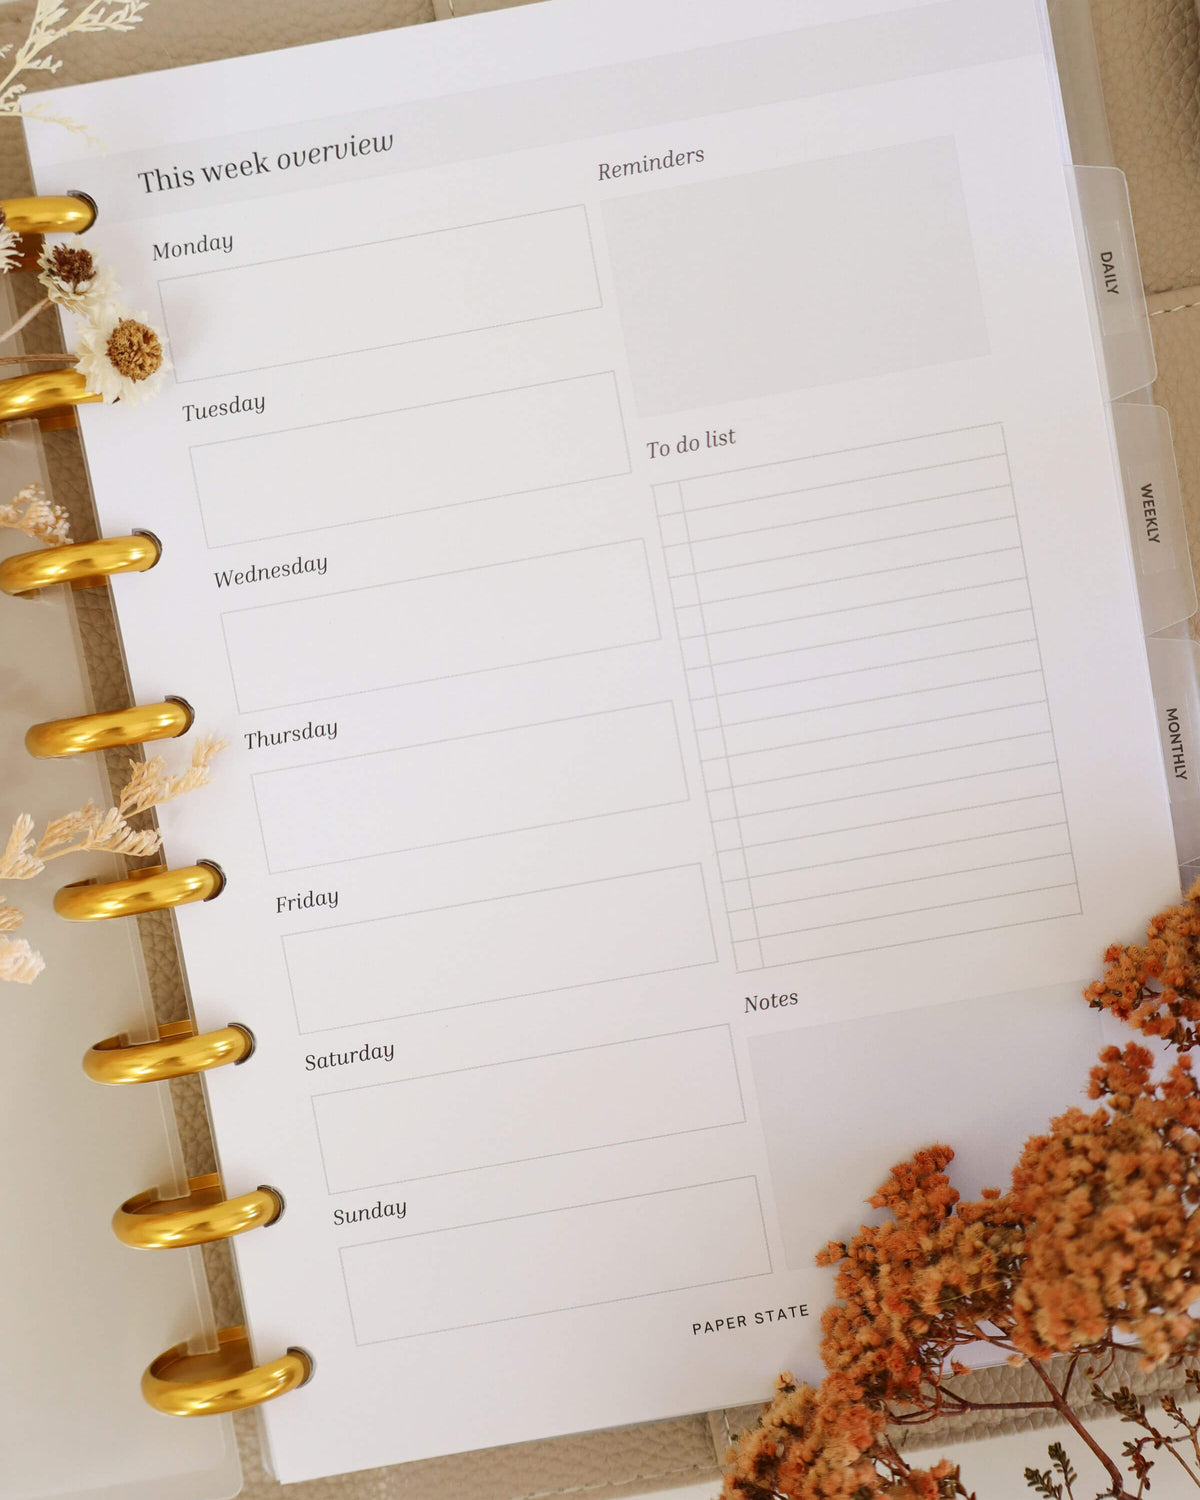
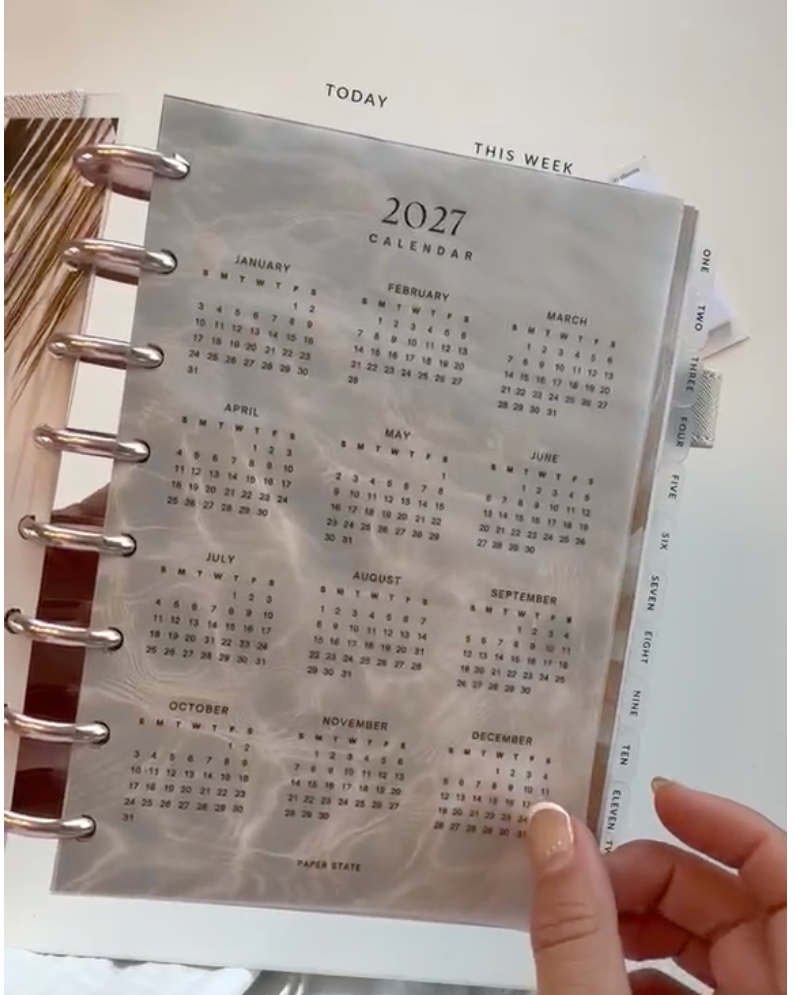
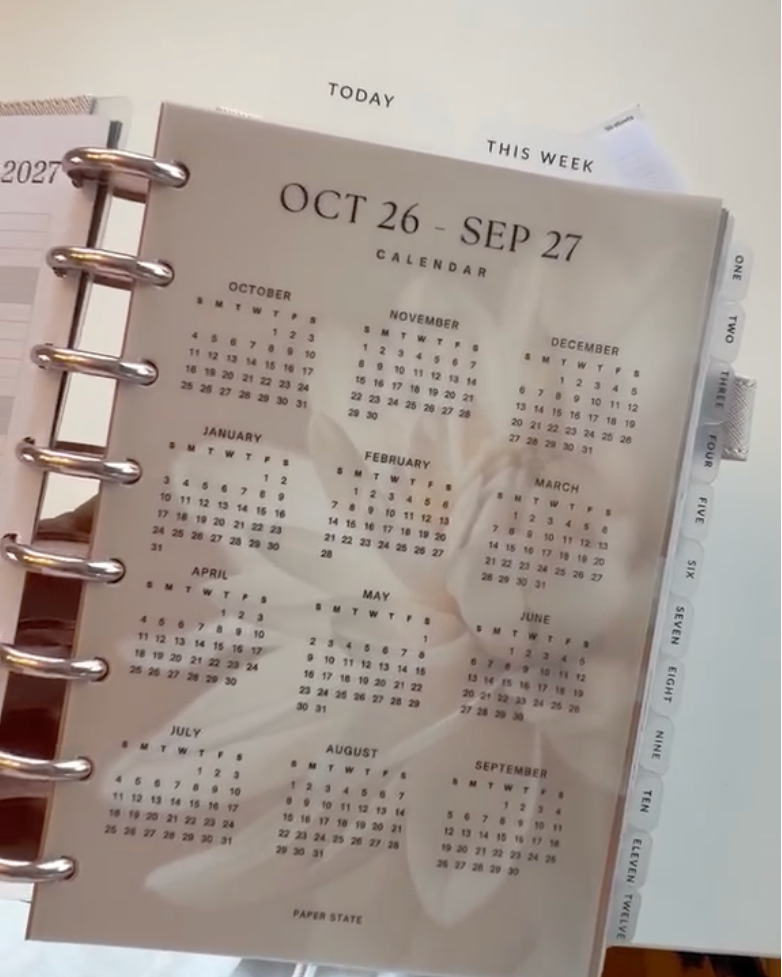
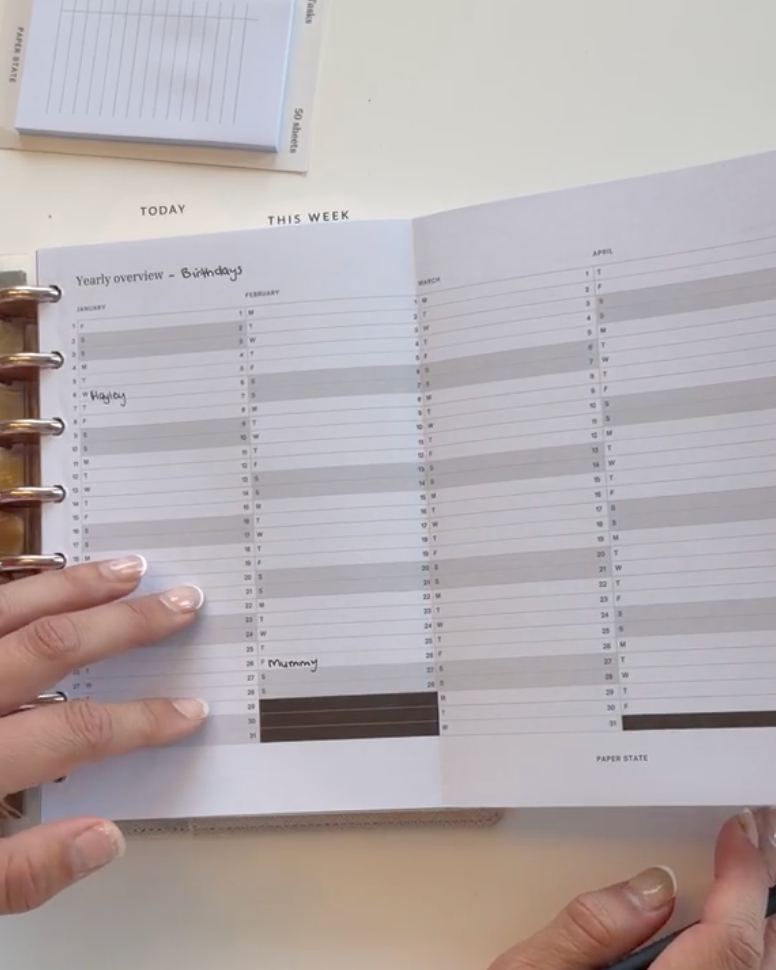
Time to add your inserts! I recommend adding around 5-10 sheets of paper at a time so they can be pushed onto the discs easily and smoothly without damaging them.

5. Add accessories
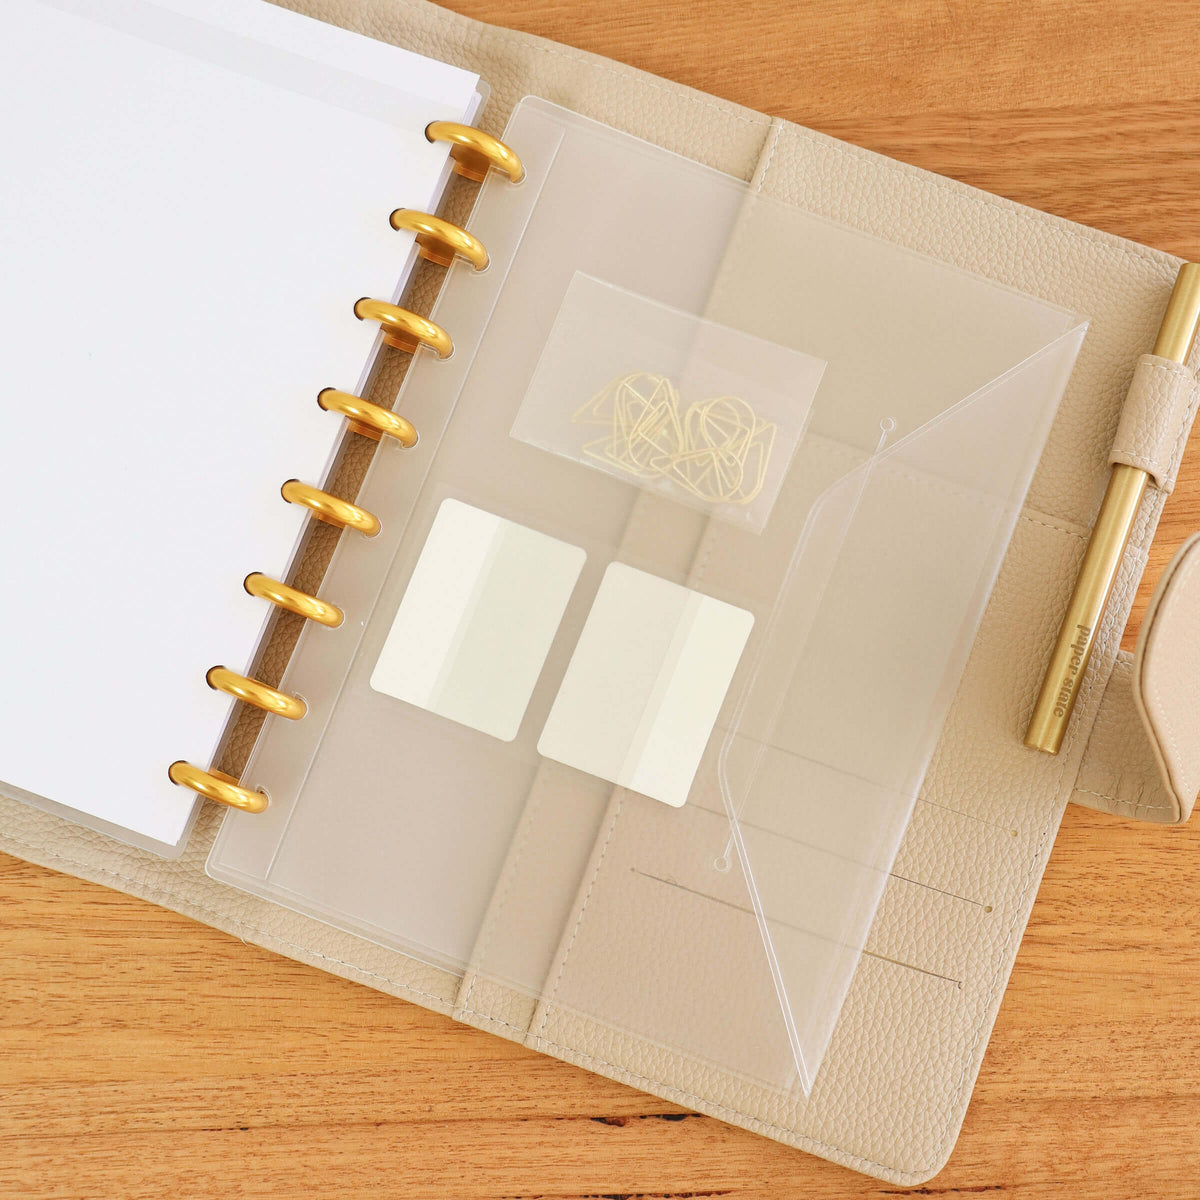
If you have any planner accessories, add them in where they make sense, and you're done!

Moving pages
To move your inserts around, hold them at the top and lift them UP and out, rather than trying to pull them out sideways. This way they won't tear and will easily lift out. You should be able to do 5-10 sheets at ones, more as you get more comfortable.